How to Draw Straight Dotted Lines in Notability
Have you ever wondered how to make a dotted line or dotted borders using Photoshop? This tutorial will walk through the steps on how to create those eye-catching dotted lines, whether you are working on a shape or just a simple line.
Using Brushes & Path
The easy solution to make dotted lines in Photoshop is to use Brushes and Path. Below are steps on how to create a simple dotted line in Photoshop:
Step 1: Open a blank document.
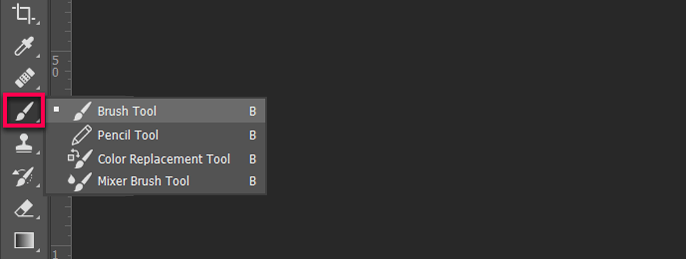
Step 2: Select the BRUSH tool.
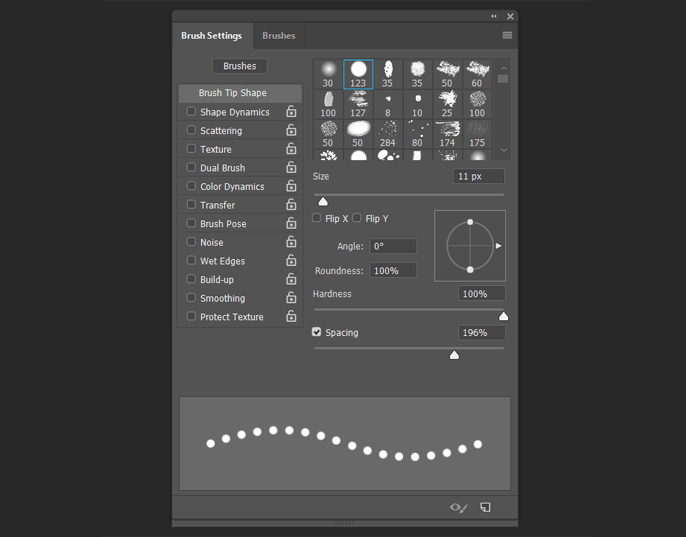
Step 3: Open the BRUSHES window by clicking on WINDOW -> BRUSHES (or press F5). In the settings, we have selected a regular circular brush, size 12, and the spacing is about 170% (you can adjust and play around with the settings). You will notice that the stroke will change from a wavy line to a dotted line.
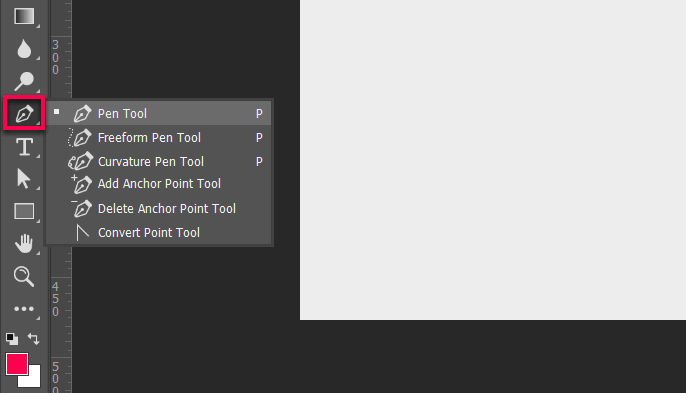
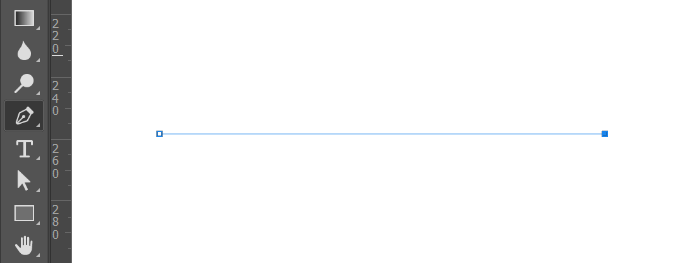
Step 4: Go back to your document and select the PEN TOOL.
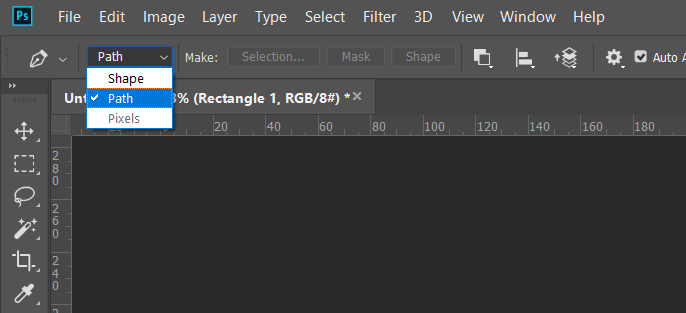
Step 5: In the upper toolbox after selecting the PEN Tool, click on the PATH option.
Step 6: Create a NEW LAYER and then hold the SHIFT key and drag a line in your document with the PEN tool to draw a straight PATH.
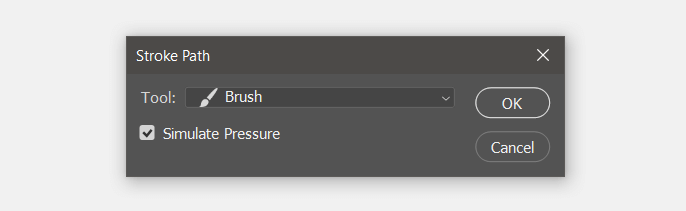
Step 7: Right-click on the path you've created and selected STROKE PATH.

Step 8: When the STOKE PATH window comes up, select BRUSH and hit OK.
Step 9: You have now created a simple and straight dotted line. You can always change the color by clicking on the color tool before creating a stroke path.

Step 10: You will notice that there's still a path line left behind. To remove this, go to the PATHS panel and delete the Work Path layer. Once deleted, the path line will be gone.


Dotted Line Using Shapes
For other projects, you'd want variations of shapes and colors other than just a monochrome straight line. Below is a guide on how to make a multicolored dotted line out of shapes.
Step 1: Follow STEPS 1-5 from the "USING BRUSHES & PATH" tutorial above.
Step 2: Create a new layer and use shape tool to create a shape. In this sample, we will be using the Ellipse Pen Tool.

Step 3: In your document, hold down the SHIFT key and drag down to create a perfect circle according to your preferred size. Once done, right click on the circle and select STROKE PATH.
Step 4: Select BRUSH and hit OK. You'll have a circle that is outlined by dots. If you look closely, you'll see that the PATHS line is still there. Again, to remove it – just go to the PATHS Panel and delete the Working Path layer.
Step 5: Go to the Layers Panel, hide LAYER 1 and create another Layer.
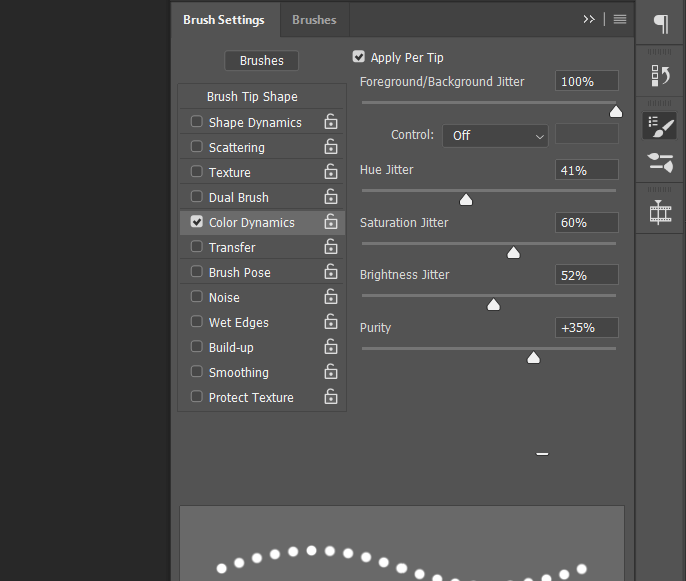
Step 6: Change your previous color to a second color of your choice (in this sample, we will use bright green). Press F5 to bring up the BRUSHES settings and highlight/check COLOR DYNAMICS. Make sure that Foreground/Background jitter is at 100%.
Step 7: Select the ELLIPSE PEN TOOL again and hold the SHIFT key. Drag the pen tool in your document to create a perfect circle.
Step 8: Right-click on the circle you've just created and select STROKE PATH.
Step 9: Select BRUSH and hit OK.
Step 10: You now have a multicolored dotted circular border, but the path line is still there so in order to remove it- go to the PATHS panel and delete the Working Path layer.
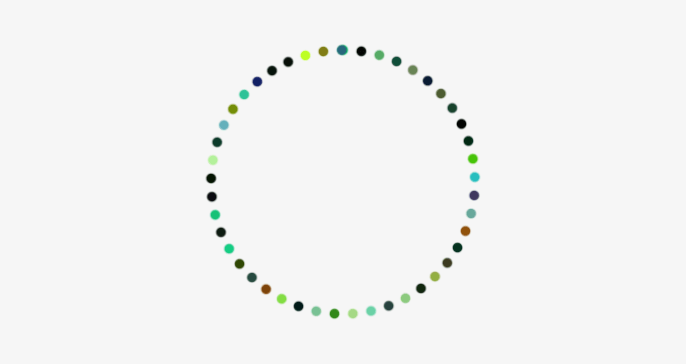
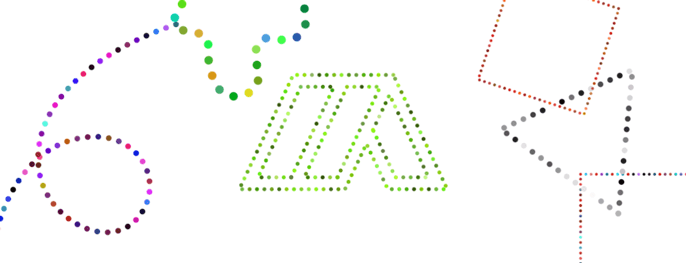
You may create as many shapes and sizes as you want using the PEN TOOL – from square to rectangle, any shape can have its own dotted line border. Customize it and add several stock images and layers to create a new picture. See the samples below:
How to Draw Straight Dotted Lines in Notability
Source: https://www.makiplace.com/blog/how-to-make-a-dotted-line-in-photoshop/
0 Response to "How to Draw Straight Dotted Lines in Notability"
Post a Comment